I had some time between sock designs recently and I didn’t want to start a new knitting project before my yarn arrived for my Tangled sock. So, I decided to make a clock with an embroidered face!
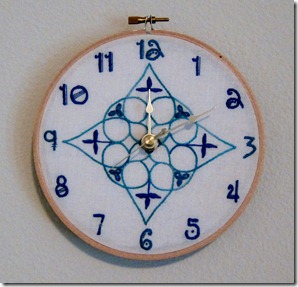
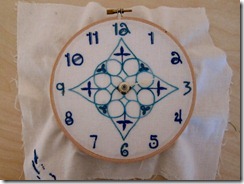
Pretty, yes? I think I’ll put it in my guest room. And so easy to make. Here, I’ll show you how:
Supplies
- Wooden embroidery hoop
- Fabric to embroider on
- Embroidery floss
- Needle
- Cardboard or foamcore
- Glue
- 1 1/4-inch clock movement kit (found online or at general craft stores)
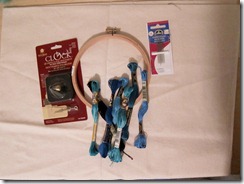
I used a 6 inch embroidery hoop for my clock. Use a bigger or small hoop for a bigger/smaller clock.
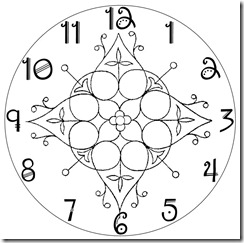
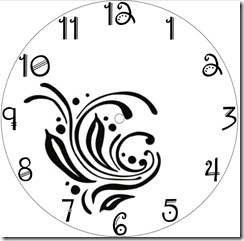
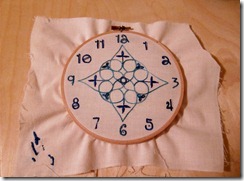
Design your clock face. I used MS Publisher to lay it all out but you can do it by hand too. I made a 6 inch circle, then placed a free embroidery design in the center and found a fun font for the numbers. Here are two of my finalists; I chose the one on the right, although I made some minor changes to it as I embroidered.
Transfer your design to your fabric however you’d like. I used the window as a light box and traced the design on to some muslin. Although I didn’t actually use the wooden hoop while I was stitching. I can only embroider using the seafoam green plastic hoop that I got as a kid when I did cross stitching. I can’t get any other hoop to work for me- they’re always too awkward. Early conditioning, I suppose!
Embroider the clock face. I marked the center hole for the clock mechanism and surrounded it with a buttonhole stitch- the clock mechanism is about 5/16 inch diameter. I satin stitched the numbers with three strands of floss. The little accents are either a single stitch with one strand or a French knot with three strands. The main design is done with three strands of floss in stem stitch with some lazy daisies and satin stitch for accents. Only the lazy daisies are done with a full six strands of floss.
Once that’s done, take care of the fabric like you would any embroidery (a gentle handwash, maybe a light pressing, what have you). Hopefully however you transferred your design comes off easier than mine did! Make sure it’s dried before putting the clock together.
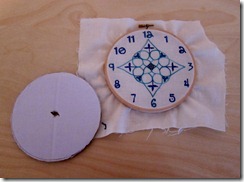
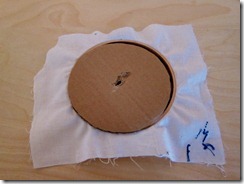
Use the inner circle of your wooden hoop and trace the inside of it on the cardboard or thin foamcore. I used some white cardboard. Make sure that whatever you use doesn’t show through your fabric. Cut out the circle and test to see that it fits snugly in the inner circle. Trim or cut another one if it doesn’t. Find the center and cut a hole for the clock mechanism to go through. You can also do this part later, cutting through both the fabric and backing, but I think that’s more annoying.
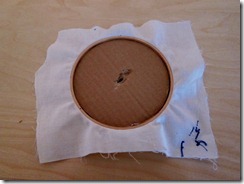
Place the fabric back in the wooden hoop and tension to your liking. Place the backing piece into the inner circle, pressing it up against the fabric. Once everything’s perfect, you can trim off the extra fabric with scissors or an X-acto knife and use a little glue to keep the edges from fraying or tack them down on the wrong side of the clock.
Assemble the clock hands according to the clock maker’s instructions. (As you can see, I assembled the clock then trimmed my extra fabric.)
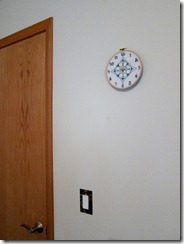
Put in a battery, hang on the wall, and enjoy!
What a great idea for a clock! I don’t stitch but have recently been bitten by the curiosity bug!
It’s so much fun! I haven’t done any embroidery since I was a kid (I’m so much better at it now, hehe) but I’m going to do more now. I wonder if any of my friends need a clock…
-Cailyn